Hinnat alv 0%
Mila International
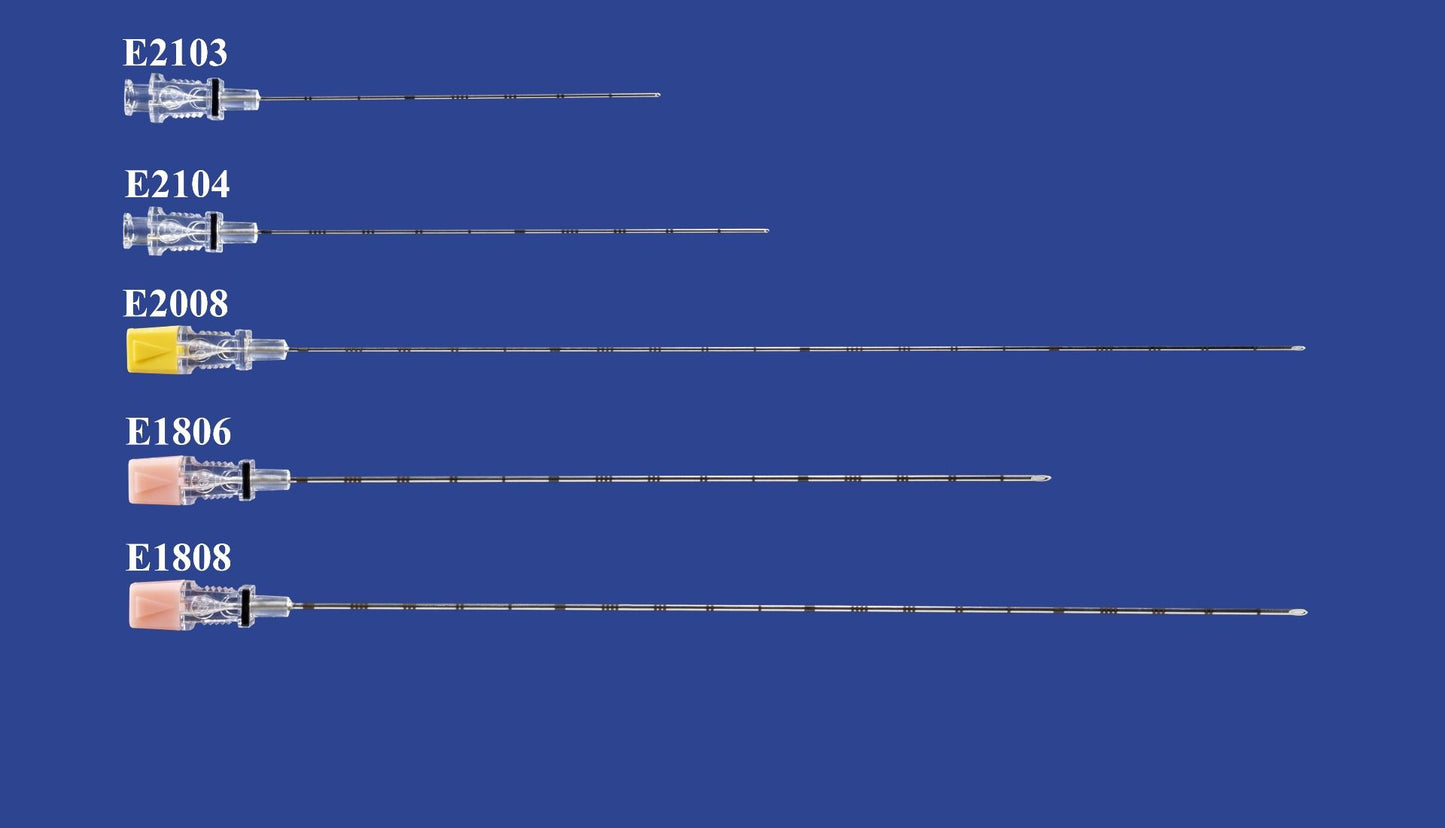
Tuotekoodi:
Noudon saatavuutta ei voitu ladata
Esophagostomy Feeding Tube Tunneler
Retrograde tunneling (easier and faster)
Retrograde E Tube Placement Video
|
The technique is as follows: |
|
|
Step 1: Disinfect and prep site according the hospital protocol. |
|
|
Step 2: Select a MILA long "length adjustable" E-tube. The long lengths are necessary to manipulate with the tunneler. These tubes are Item Number: E1430; E1450; E1830; and all can be cut for desired final length. |
|
|
Step 3: The size 14Fr or 18Fr is printed on the side of the tunneler. The shorter; non-etched end; enters the mouth first to "tent" the side of the neck to palpate and incise. The longer; dark etched end; is pushed into the feeding tube for pulling through the incision. |
|
|
Step 4: Remove the hub and skirt from the tube by unscrewing the skirt and pulling the Y adapter and skirt off. Retain the pieces to reinstall later. |
|
|
Step 5: Trim 3-4cm off the end of the tube where it was stretched by the adapter. This is necessary so that the tube will fit tightly and not slip off the tunneler when being pulled through. |
|
|
Step 6: Measure the length and mark the E-Tube. |
|
|
Step 7: Insert E-Tube into mouth and advance until distal tip is positioned in caudal esophagus. |
|
|
Step 8: Advance short end tip of the tunneler in cranial esophagus; adjacent to E-Tube; palpate exit site and incise and dissect to create access. |
|
|
Step 9: Push tunneler partially through exit site. OPTIONAL: Grab the tip of the tunneler with a forcep to stabilize it. |
|
|
Step 10: Connect proximal end of E-Tube to the long etched end of the tunneler. |
|
|
Step 11: Pull the tunneler and E-Tube through exit site. Remove the tunneler. |
|
|
Step 12: Confirm placement with a radiograph; fluorography; or endoscopy. Adjust if needed. |
|
|
Step 13: Suture and bandage according to hospital protocol. |
|
|
Step 14: Cut the tube to desired length; and replace the skirt and Y adapter. |
|